Remote pairing
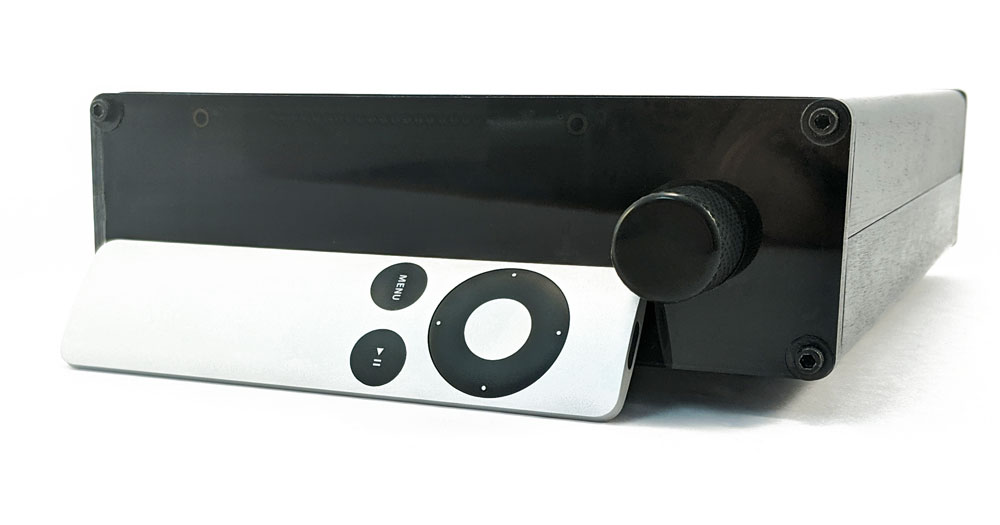
Tortuga Audio adopted the simple silver Apple remote as its remote back around 2014 up until such time as Apple stopped making and offering it. Each Apple remote has an ID number between 0 and 255. This ID number allows up to 256 different devices to each be controlled by a unique Apple remote.
Remote pairing is a process that "teaches" your Tortuga preamp the ID number of your Apple (or legacy Tortuga remote) so that the preamp will only communicate with your Apple remote and ignore all others.
Why is pairing necessary?
Every Apple remote has a randomly assigned ID number between 0 and 255. That ID number can be changed (see below) if necessary. The purpose of the ID number is to allow the use of multiple Apple remotes to control different products without creating command code conflicts. For example, yuou may have an Apple remote for your Apple TV in addition to your Apple remote for your Tortuga preamp. Without ID numbers it would be chaos with both devices reacting to any remote. Pairing is usually only required with a new remote. Pairing may also be required after a major firmware upgrade.
Do I need to pair my remote?
A remote is included with each Tortuga Audio preamp and that remote will already have been paired with your preamp. However, if you lose your remote or otherwise replace it with another, you will most likely need to pair any new replacement remote with your preamp.
- The end of pairing
-
With the release of firmware version 2.2.0 of Tortuga Audio’s V4 series, the remote pairing process described herein is no longer relevant and has instead been replaced with remote learning process wherein you can now teach your V4 series preamp the buttons on any remote that follows the NEC protocol which is the majority of infrared remotes. Click on Remote learning for more information on remote learning.
Apple remote out of production
In mid 2023 Apple quietly ended production and sale of it’s 7 button silver remote. This sent numerous companies scrambling for a compatible aftermarket alternative. Tortuga Audio has adopted the Function101 remote as its primary remote going forward.
Can I change the default ID of my Apple Remote?
Yes! But the only reason for doing so is if you have two Apple remotes for two different devices and both remotes happen to have the same ID number (one chance in 256). The Apple remote ID can be changed by simultaneously pressing both the Menu and the Enter/Center key on the Apple Remote for 5+ seconds and then releasing. Nothing noticeable will happen - no beeps or flashing lights. This process will change the ID number to some new value. After changing the ID you will then have to pair the Apple remote with your Tortuga preamp.
How do I pair my remote with my preamp?
Pairing your remote with your Tortuga preamp is a fairly straight forward process that can be accomplished in less than a minute.
Below you’ll find a step by step guide on pairing your remote.
| Step | Action | Description |
|---|---|---|
step 1 |
Turn preamp on |
Preamp must be plugged into power and turned on. Since the preamp presumably can’t respond to the remote yet, turn on the preamp by a brief press/release of the encoder control knob. |
step 2 |
Enable pairing |
All V2 & early vintage V25 preamps with 7-segment displays::
|
step 3 |
Complete pairing process |
Press the center/enter button on the remote to complete the pairing process. The display will stop blinking or otherwise respond confirming that the preamp & remote are now paired. |
step 4 |
Confirm pairing |
The preamp controller should now be responding to your remote normally. |
Pairing trouble shooting
Preamps with OLED display
"The Pairing Mode" message appeared on the display, I pressed a key on the remote, but the preamp still does not respond to my remote"
Occasionally the pairing process fails even if you did everything right and thus must be repeated. Pressing the Up or Down button to complete the pairing process is usually more reliable than pressing the Center button.
Preamps with 7 segment displays
"I press/hold the Encoder push button for 20 seconds and release and the display blinks for only a second or so and then stops or the display goes blank"
This probably means you didn’t hold the Encoder push button in long enough.
It’s also important that you don’t turn the encoder while holding in the encoder push button. This will confuse the controller into thinking you want to change the input.